
The real work of a whole house repipe doesn’t end when the last pipe is crimped and the main valve is opened. You’ve likely spent the last few days living in a construction zone. While the relief of knowing your home is safe from slab leaks is huge, you’re now left with drywall dust, sputtering faucets, and the uncertainty of a pending inspection. Knowing exactly what to do after a whole house repipe is finished is the key to turning a successful installation into a long-term home improvement success.
It’s natural to worry about air in the lines or whether your fixtures are handling the change in pressure correctly. We want to help you move from the chaos of construction back to the comfort of a fully functional home. This comprehensive checklist walks you through the essential steps to restore your living space, validate that every connection is up to code, and protect your new plumbing from Florida’s unique water conditions. We’ll cover everything from purging sediment to managing the final permit sign-off so you can enjoy total peace of mind.
Key Takeaways
- Learn the correct way to flush your plumbing lines and clean faucet aerators to remove construction debris or trapped air pockets.
- Discover exactly what to do after a whole house repipe is finished to ensure your system is optimized for long term performance.
- Understand the importance of the final permit inspection and how to coordinate with local building departments before you begin any drywall repairs.
- Identify all access points and restoration needs to ensure your home’s structural integrity and aesthetics are fully restored.
- Protect your new plumbing investment from harsh Florida minerals by evaluating water filtration options that prevent scale and corrosion.
Immediate Steps: The First 24 Hours After Repiping
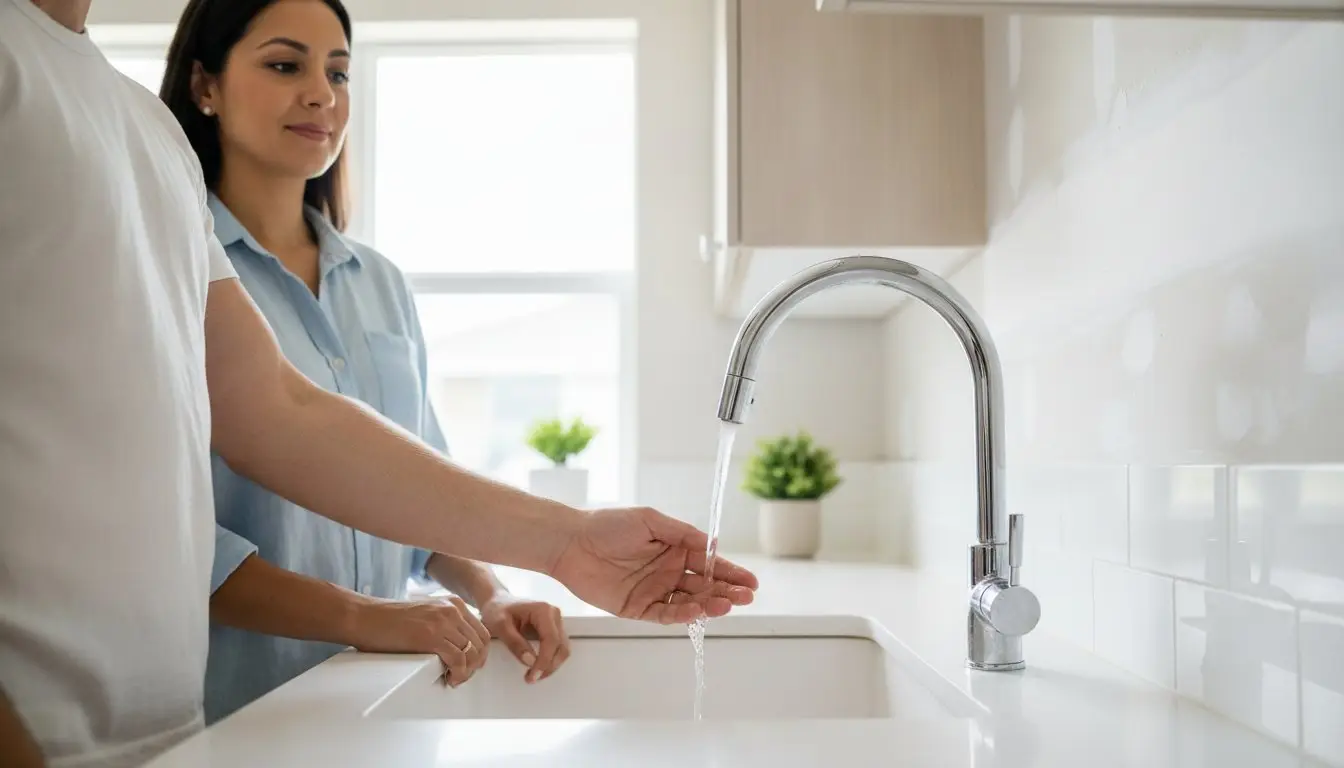
Once the installers pack up their tools, your home officially enters the recovery phase. It’s a major milestone, but the first 24 hours are critical for ensuring your new plumbing system operates at peak efficiency. The most important step in what to do after a whole house repipe is finished is a thorough system flush. Construction involves cutting pipes, applying sealants, and moving heavy equipment, which inevitably introduces air and tiny debris into the lines.
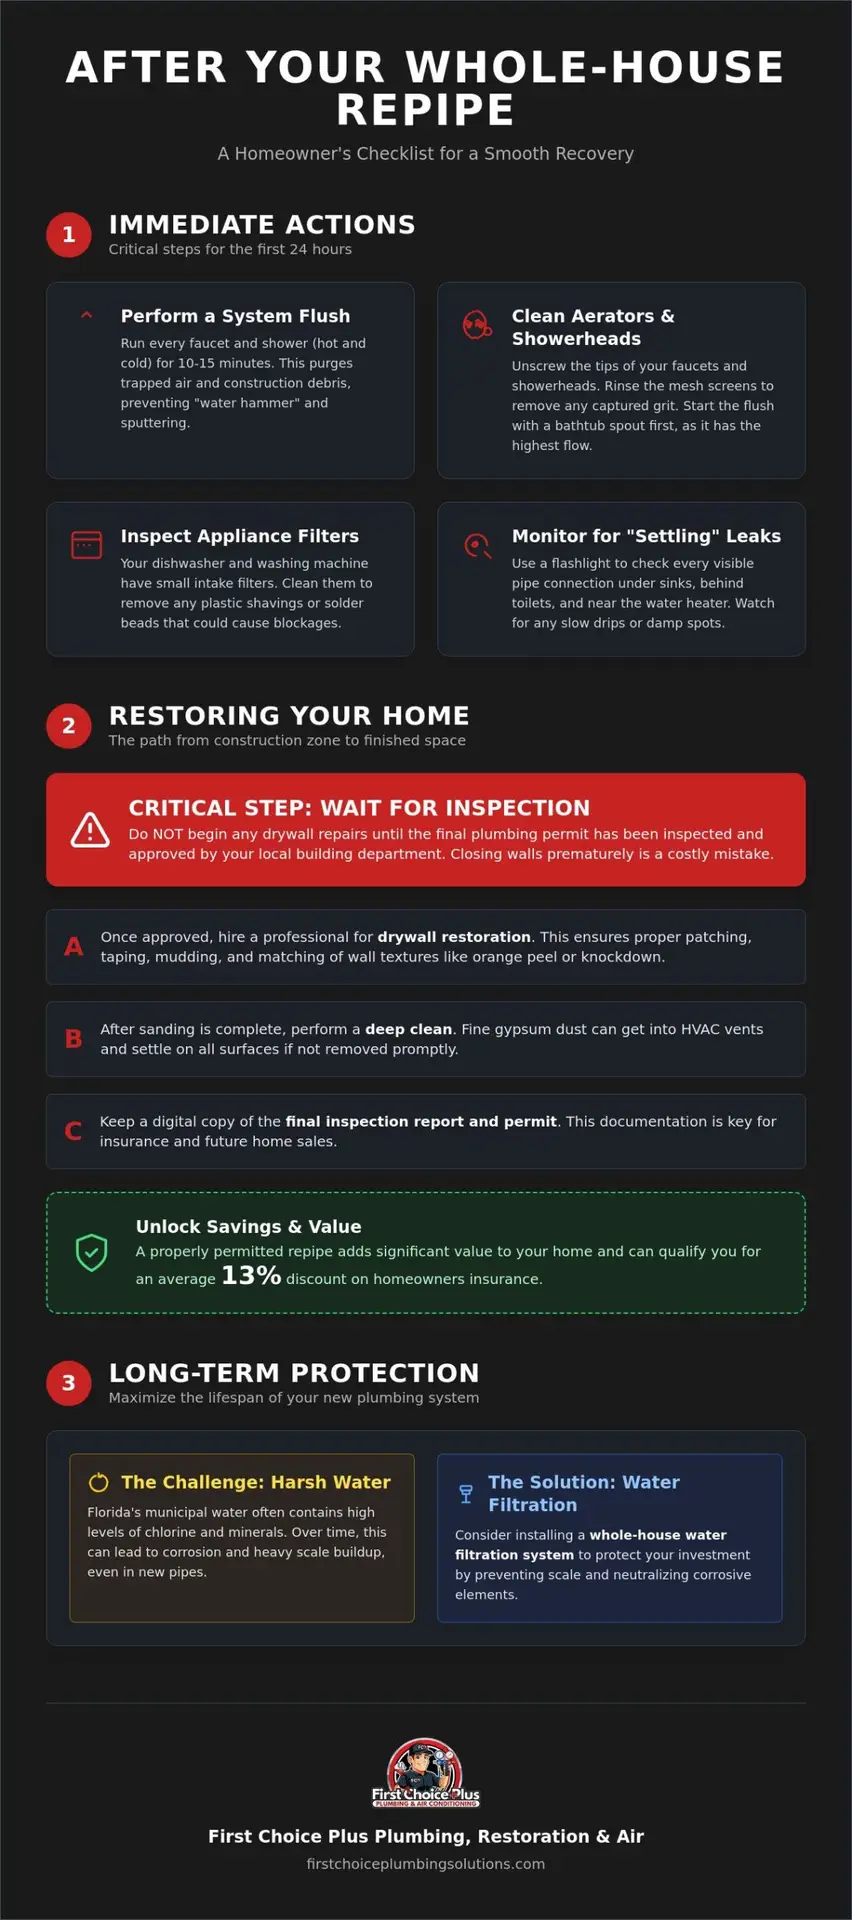
Start by running every faucet and showerhead in the house for at least 10 to 15 minutes. This clears out air pockets that cause “water hammer” or sputtering. While you’re at it, keep an ear out for your water heater. If you hear a distinct knocking or popping sound, it’s usually just trapped air moving through the tank. If it persists, it might mean sediment was stirred up during the transition, requiring a professional check. Don’t forget your appliances. Dishwashers and washing machines have small intake filters that can easily clog with plastic shavings or solder beads. Clean these early to prevent a service call later.
Cleaning Aerators and Showerheads
Air and debris love to hide in the mesh screens of your fixtures. To fix this, unscrew the aerators from the tips of your faucets and the heads of your showers. Rinse them under a separate stream of water to remove any grit. Start your flushing process with the bathtub cold water. Bathtubs usually have the highest flow rate in the home and can pull the most debris through the main lines quickly without clogging smaller fixture screens first.
Monitoring for “Settling” Leaks
Even the best installation needs a watchful eye during the initial settling period. Take a flashlight and check every visible connection point. Look under sinks, behind toilets, and near the water heater for slow drips or damp spots. If your water pressure feels inconsistent or you notice a drop in performance after flushing, a leak detection expert can verify that every joint is sealed perfectly. Catching a minor weep now prevents a major headache once you’ve patched the drywall.
Restoring Your Home: Drywall, Paint, and Inspections
A repipe often leaves your home looking like Swiss cheese. While the new lines are secure, you’re now facing a series of access holes throughout your living space. Deciding what to do after a whole house repipe is finished requires a quick transition from plumbing to restoration. Before you rush to patch those holes, you must verify that the work meets local code. In Port St. Lucie and Martin County, closing the walls before a final inspection is a costly mistake. Always wait for the official green tag from the building department to ensure your investment is protected.
The Drywall Restoration Process
Matching Florida wall textures like orange peel or knockdown is an art form. Most Treasure Coast homes use these specific finishes, and a poor patch job will stand out every time you turn on the lights. Professional restoration involves installing backer boards, taping joints, and applying at least three coats of mud. Each layer needs time to dry before the final sanding. Once the texture is applied and painted, the mess remains. Gypsum dust is incredibly fine. It will settle inside your HVAC vents and on your furniture if you don’t perform a deep clean immediately after the sanding is complete.
Final Inspections and Permits
While the EPA suggests you run your water to ensure the new lines are clear of any residual particles, your paperwork is just as important as your pipes. Successfully repiping a house adds significant value to Florida real estate, often resulting in an average homeowners insurance discount of 13%. However, you can only claim these benefits if you have the final inspection report. Keep a digital copy of the permit and the sign-off for future home sale disclosures. If you’re looking for a partner who handles both the plumbing and the cleanup, our restoration experts can help restore your home’s beauty while ensuring everything is up to code.
Long-Term Protection: Maximizing Your New Plumbing System
Thinking about what to do after a whole house repipe is finished involves looking decades into the future. You’ve just installed a high-performance system, but Florida’s aggressive water chemistry remains a constant challenge for any material. High levels of chlorine and mineral content found in Treasure Coast municipal water can lead to premature degradation or heavy scale buildup. It is a smart move to test your water for lead and mineral concentration immediately after the project concludes. This baseline helps you understand how the local water interacts with your new pipes and ensures your family’s safety.
Addressing Treasure Coast Water Hardness
Hard water isn’t just a nuisance for your hair and skin; it’s a silent threat to your plumbing fixtures. Calcium and magnesium deposits can narrow the internal diameter of your new pipes over time, eventually choking off water pressure and stressing joints. Integrating a water filtration or softener system protects your new lines from this internal buildup. A whole-house carbon filter is particularly effective at removing the heavy chlorine used in local treatment plants, which can eventually cause certain PEX materials to become brittle and lose their flexibility over time.
Warranty and Maintenance Documentation
Organization is your best defense against future repair costs. Create a dedicated folder for your repipe contract, material specifications, and the contact information for your trusted plumber in Port St. Lucie. Registering your product warranties, such as those for Uponor PEX-a, ensures you’re protected for the full term of the manufacturer’s promise. Finally, schedule routine water heater services to flush out any sediment that may have been stirred up during the installation. This simple maintenance keeps your hot water flowing efficiently and prevents the tank from failing years before its time.
Enjoying Your Restored Home and Reliable Water
Completing a repipe is a significant investment in the safety and value of your Florida home. By following this checklist, you’ve moved past the stress of construction and into the long-term benefits of a leak-free system. Remember that the final steps, specifically flushing your lines and securing a municipal inspection, are just as vital as the installation itself. Knowing what to do after a whole house repipe is finished ensures your new PEX or copper lines stay protected from hard water scale and that your walls look as good as new.
If you’ve finished your repipe but need help with the final touches, we’re here to help. First Choice Plus Plumbing & Air has served Port St. Lucie for over 15 years as licensed and insured restoration experts. Whether you need professional drywall repair to match your knockdown texture or a whole-house filtration system to protect your pipes, our team provides calm, competent solutions. We even offer 24/7 emergency plumbing response for total peace of mind. Contact First Choice Plus Plumbing & Air for expert plumbing and restoration services today!
Take a deep breath and enjoy your clear water and steady pressure. You’ve done the hard work to protect your home and your family for decades to come.
Frequently Asked Questions
Is it normal to have air in the pipes after a repipe?
Yes, it is very common to have trapped air in your lines immediately after the water is turned back on. This usually shows up as sputtering faucets or loud banging noises known as water hammer. To resolve this, run all your cold water fixtures simultaneously for several minutes. If the issue persists for more than 24 hours, you should contact your plumber to ensure no air pockets are trapped in the high points of your system.
Will the plumber fix the holes in my walls?
Most plumbing contractors don’t include drywall repair or painting in their standard quotes because repiping is a specialized plumbing trade. However, part of knowing what to do after a whole house repipe is finished involves planning for these finishing trades. Full-service companies like First Choice Plus Plumbing & Air provide both plumbing and restoration services. Always clarify this in your contract before the project starts so you can have a professional scheduled to follow the plumbers immediately.
Why is my water cloudy after the repipe?
Cloudy or milky water is typically caused by tiny air bubbles trapped in the new lines during the installation process. This is harmless and should disappear within a few days as the system settles. If the water has a distinct brown or yellow color, it may be lingering sediment from the old pipes that was stirred up. Flushing the entire system from a bathtub or an outdoor hose bib usually clears this debris quickly.
Do I need to replace my water heater when I repipe?
Replacing your water heater isn’t strictly required, but many homeowners choose to do so during a repipe project. If your heater is more than 8 to 10 years old, the improved water pressure from your new system could put additional stress on the aging tank. Additionally, installing a tankless water heater is often more cost-effective during a repipe because the plumbers are already modifying the supply lines, which can save you on future labor costs.

Article by
Written by First Choice Plus Plumbing & Air Team
This article was created by the team at First Choice Plumbing Solutions, a licensed and experienced plumbing and HVAC company serving Port St. Lucie, Land O’ Lakes, and surrounding areas.
Our team specializes in plumbing and air conditioning services, including drain cleaning, leak detection, water heater repair and installation, AC repair, maintenance, and system installations. Our content is based on real-world experience and the common issues we solve for homeowners and businesses every day.
We aim to provide accurate, helpful, and easy-to-understand information so you can make informed decisions about your plumbing and HVAC needs.
If you need reliable, professional service, First Choice Plumbing Solutions is here to help.
Disclaimer
Disclaimer: The information provided in this article is for general informational purposes only and does not constitute professional plumbing or HVAC advice. Every situation is different, and readers should consult a licensed professional for proper diagnosis and repair. First Choice Plus Plumbing & Air is not liable for any damages or losses resulting from the use of this information.