You might think your job is done once the technician packs up their tools and the air starts blowing cold, but that’s actually where the most critical phase of your investment begins. Most homeowners assume a running unit means a perfect job; however, the real test of efficiency and longevity happens in the hours and days following the install. If you’ve just invested in a high-efficiency system, you deserve to know that every dollar is working for you.
We understand the stress that comes with home maintenance, especially with the high stakes of the Florida heat. You want lower utility bills and the peace of mind that your warranty won’t be voided by a simple paperwork error. That’s why we’ve developed this expert-led post-installation checklist for your new AC unit. It’s designed to help you verify that your system meets the 2026 SEER2 requirements and operates exactly as promised.
In this guide, we’ll walk through essential performance checks, explain the shift to new refrigerants like R-32 or R-454B, and detail the specific documentation you need to secure your home’s comfort for years to come.
Key Takeaways
- Perform a visual inspection of your outdoor condenser and indoor air handler to verify that components are level, stable, and properly seated.
- Monitor your home’s relative humidity to ensure it stays between 45% and 55%, which is the gold standard for comfort in the Florida climate.
- Use a comprehensive post-installation checklist for new AC unit owners to confirm your system hits the 2026 SEER2 efficiency benchmarks.
- Collect all necessary model numbers and city permit approvals to prevent your manufacturer warranty from being voided by paperwork errors.
- Identify early warning signs like unusual vibrations or whistling sounds that could signal a need for immediate adjustment or ductwork repair.
The Essential HVAC Handover: What to Verify Before Your Technician Leaves
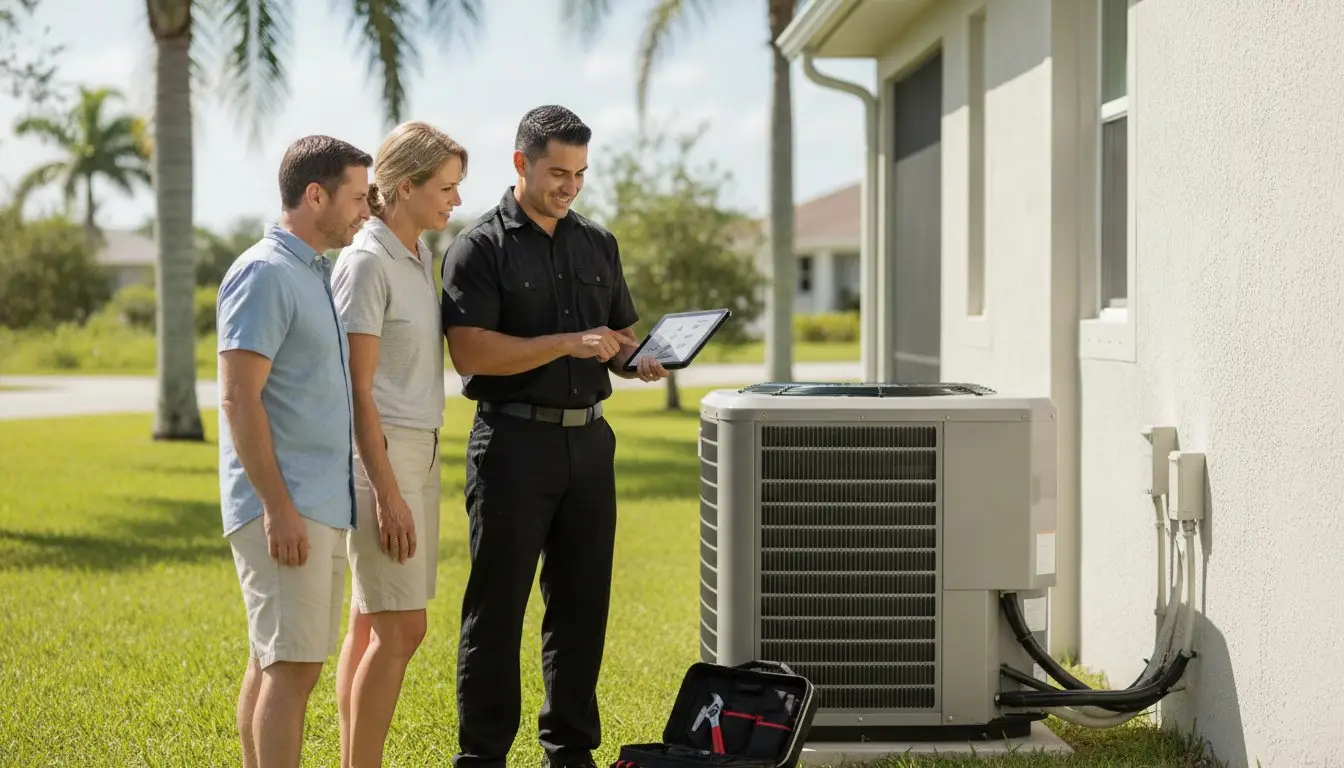
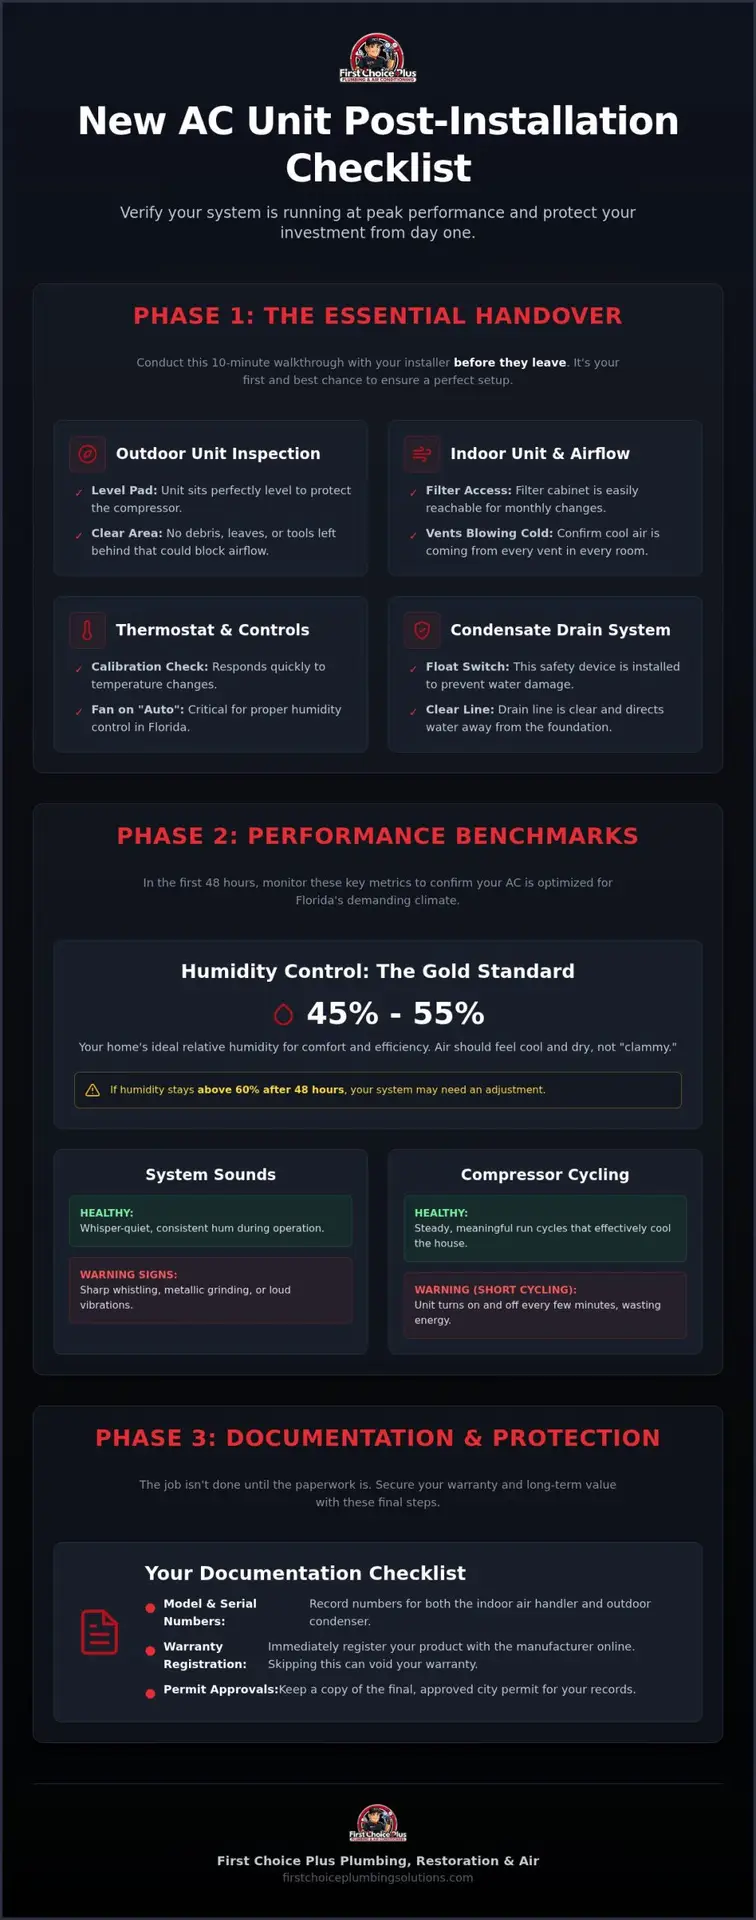
Before the service van pulls out of your driveway, take ten minutes to conduct a final walkthrough with your installer. This is the most effective way to use your post-installation checklist for new AC unit ownership. Start at the outdoor condenser. The pad must be perfectly level; even a slight tilt can cause the compressor’s oil to distribute unevenly, leading to premature wear. Ensure the area is clear of construction debris that could immediately choke the coil’s airflow.
Inside your home, verify that the air handler is easily accessible. If you can’t reach the filter cabinet comfortably, you’ll struggle with the monthly maintenance required to keep your system’s efficiency high. Walk through every room to confirm that supply vents are blowing cold air. This is a great time to brush up on Air conditioning basics by asking your technician to show you the sealed ductwork connections. You should see gray mastic paste or professional-grade foil tape, which prevents your expensive, cooled air from escaping into your attic or crawlspace.
Thermostat Calibration and Smart Feature Setup
Test the thermostat to ensure it reflects the actual room temperature and responds to setting changes within seconds. If you’ve opted for a smart system, don’t let the technician leave until they’ve demonstrated the Wi-Fi connectivity and mobile app scheduling. It’s also critical to understand the fan settings. For the best humidity control in our local climate, keep the fan on “Auto.” Setting it to “On” can actually pull moisture back into your home from the damp evaporator coil between cycles.
Testing the Condensate Drain System
Florida’s humidity means your AC produces gallons of water daily. Locate your primary and secondary drain lines to ensure they are clear and directed away from your home’s foundation. Most importantly, verify the installation of a float switch. This small safety device is a lifesaver; it automatically shuts down your AC installation if the drain line clogs, preventing a messy and expensive flood in your home.
Performance Benchmarks for the Florida Climate: Humidity and Airflow
Once the unit is running, you need to verify it handles the Treasure Coast’s biggest challenge: moisture. A critical item on your post-installation checklist for new AC unit owners is monitoring your hygrometer. Your home should settle between 45% and 55% relative humidity. If the air feels “clammy” or your skin stays sticky indoors, the system might not be calibrated correctly. A unit that cools too fast without removing moisture will leave you feeling uncomfortable despite a low thermostat reading.
Pay close attention to the sounds of your new investment. It should be whisper-quiet compared to your old system. Listen for any sharp whistling, which often indicates a return air restriction, or metallic grinding. Also, watch the clock during the heat of the day. Your unit should run in steady, meaningful cycles. If it turns on and off every few minutes, it’s “short cycling.” This behavior kills efficiency and puts unnecessary strain on the compressor.
Managing Treasure Coast Humidity Levels
Initially, your system might run for several hours without stopping. Don’t panic. If your home was without air for a few days, the unit has to pull gallons of moisture out of the furniture, drywall, and carpets before the temperature can drop. However, if your humidity levels remain above 60% after 48 hours of operation, you may need to schedule an emergency AC repair to check the refrigerant charge or blower speed settings.
Airflow Consistency and Duct Integrity
Walk to the rooms furthest from the air handler. They should feel just as cool as the rooms closest to the unit. Consistent airflow across all rooms is the hallmark of a correctly sized Manual J load calculation. You can perform a simple check yourself by using a tissue near the supply vents. If you suspect leaks at the plenum, a tissue held near the duct joints shouldn’t flutter. If you’re noticing uneven cooling, our team can help with professional ductwork inspection to ensure your new system isn’t wasting energy through hidden gaps.
Documentation and Protection: Securing Your Investment for the Long Haul
The mechanical work is finished, but your post-installation checklist for new AC unit success isn’t complete until you’ve secured the paperwork. Your system represents a major investment, and its long-term value depends on proof of proper installation and registration. Start by documenting the manufacturer’s model and serial numbers for both your outdoor condenser and the indoor air handler. You’ll also need a copy of the local building permit and the signed-off final inspection from the city. These documents are vital if you ever sell your home or need to file a major insurance claim.
Don’t forget to request your AHRI (Air Conditioning, Heating, and Refrigeration Institute) certificate from your contractor. While federal tax credits expired at the end of 2025, many Florida utilities still offer rebates that require this specific certificate for processing. Finally, ensure your installer provides a written labor warranty. This is distinct from the manufacturer’s parts warranty; it covers the cost of the technician’s time if a component fails due to an installation error.
Warranty Registration and Service Records
Most manufacturers require you to register your unit online within 60 days of the AC installation date. If you miss this window, your 10-year parts warranty could automatically drop to just five years. Create a dedicated folder for your electrical permits, registration confirmation, and every service receipt. This “house file” is your best defense against denied warranty claims and provides essential records for future homeowners.
Setting Up Your Preventative Maintenance Schedule
Your new system is a precision machine. To keep your warranty valid and maintain those 2026 SEER2 efficiency ratings, schedule your first professional tune-up about six months after installation. This allows a technician to verify that the system has settled correctly and that the refrigerant levels are still optimal after its first heavy Florida summer. For more help with long-term care, check out our AC repair in Port St. Lucie guide for expert troubleshooting tips.
Enjoying Long-Term Comfort in Your Florida Home
Investing in a new air conditioner is one of the most significant steps you can take to protect your home’s comfort and value. By following this post-installation checklist for new AC unit owners, you’ve ensured that your system isn’t just running, but running at peak efficiency. From verifying the 45% to 55% humidity levels to securing your 10-year parts warranty through timely registration, these steps safeguard your investment against the harsh Florida elements.
At First Choice Plus Plumbing & Air, we’ve served Port St. Lucie and the Treasure Coast since 2007. Our licensed and insured technicians understand that a great installation is about more than just hooking up wires; it’s about providing the peace of mind that your family will stay cool even in the peak of July. If you ever run into trouble, we’re here with 24/7 emergency AC support to keep your home comfortable.
Trust the local experts for your next AC installation in Port St. Lucie. Contact First Choice Plus today at firstchoiceplumbingsolutions.com!
Your home is your sanctuary, and we’re proud to help you keep it that way.
Frequently Asked Questions
How long should a new AC unit run on its first day?
It’s normal for a new system to run for several hours or even a full day immediately after installation. If your home was without cooling for a period, the unit must remove built-up moisture from your drywall, carpets, and furniture before the temperature can drop effectively. Once this initial dehumidification is complete, the system should settle into regular cycles that last about 15 to 20 minutes depending on the outdoor heat.
Why is my new AC unit making a whistling noise?
A whistling noise usually points to an airflow restriction or a pressure imbalance within your ductwork. This often happens if the return air vent is too small for the new system’s power or if there’s a small gap in the plenum seal. Check your air filter first to ensure it’s seated correctly; if the sound persists, you may need a technician to adjust the blower speed or inspect the duct connections for leaks.
Do I need to register my new AC unit for the warranty to be valid?
Yes, registering your equipment is a vital part of any post-installation checklist for new AC unit owners. Most manufacturers require online registration within 60 days of the installation date to secure the full 10-year parts warranty. If you fail to register, your protection could be cut in half to just five years, leaving you responsible for expensive component costs much sooner than expected.
What is the ideal humidity level for a home in Port St. Lucie?
For homes on the Treasure Coast, the ideal relative humidity level is between 45% and 55%. Maintaining this range prevents mold growth and ensures your home feels comfortable even at slightly higher thermostat settings. If your new system consistently leaves the air feeling sticky or shows humidity levels above 60% after the first 48 hours, it may require a calibration adjustment to its dehumidification settings.
Should I hear water dripping in my new air handler?
You shouldn’t hear loud dripping or splashing sounds coming from your indoor air handler. While the system naturally creates condensation, the water should flow silently into the primary drain pan and out through the PVC lines. If you hear persistent dripping, it could indicate that the unit isn’t perfectly level or that the condensate drain line was improperly pitched during the installation process, which could lead to future clogs.
What paperwork should I receive after a new HVAC installation?
You should receive a comprehensive packet including the manufacturer’s model and serial numbers, the AHRI certificate, and a copy of the local building permit. It’s also essential to get a written labor warranty from your contractor that is separate from the manufacturer’s parts warranty. Keep these documents in a dedicated “house file” to simplify future maintenance and protect your investment’s resale value if you decide to move.

Article by
Written by First Choice Plus Plumbing & Air Team
This article was created by the team at First Choice Plumbing Solutions, a licensed and experienced plumbing and HVAC company serving Port St. Lucie, Land O’ Lakes, and surrounding areas.
Our team specializes in plumbing and air conditioning services, including drain cleaning, leak detection, water heater repair and installation, AC repair, maintenance, and system installations. Our content is based on real-world experience and the common issues we solve for homeowners and businesses every day.
We aim to provide accurate, helpful, and easy-to-understand information so you can make informed decisions about your plumbing and HVAC needs.
If you need reliable, professional service, First Choice Plumbing Solutions is here to help.
Disclaimer
Disclaimer: The information provided in this article is for general informational purposes only and does not constitute professional plumbing or HVAC advice. Every situation is different, and readers should consult a licensed professional for proper diagnosis and repair. First Choice Plus Plumbing & Air is not liable for any damages or losses resulting from the use of this information.