
Have you ever wondered why your water heater sounds like it’s popping popcorn or rumbling every time it kicks on? If you live in Port St. Lucie, that noise usually means your tank is fighting a losing battle against heavy mineral buildup. Florida’s water is notoriously hard, often reaching 15 to 25 grains per gallon, which can slash your heater’s efficiency by up to 25 percent. Learning how to flush sediment from water heater is the most effective way to stop those annoying noises and prevent your utility bills from climbing.
It’s frustrating when your morning shower turns cold faster than it used to, but you don’t have to settle for a failing appliance. We understand the stress of home maintenance, and we’re here to provide a steady hand through the process. In this guide, we’ll show you the professional method for clearing out the gunk safely and efficiently. You’ll gain the confidence to maintain your system like a pro, ensuring your home stays comfortable and your energy costs stay under control. We’ll walk you through everything from safety shutdowns to the final restart.
Key Takeaways
- Identify why those strange popping and rumbling noises are warning signs of heavy mineral buildup inside your tank.
- Learn exactly how to flush sediment from water heater systems to restore efficiency and combat Florida’s notoriously hard water.
- Follow critical safety protocols to shut down power or gas correctly, preventing permanent damage to your heating elements.
- Master the professional technique for bleeding air out of your plumbing lines before you restart your unit.
- Recognize the warning signs that indicate when a DIY flush has failed and you need a steady hand from a local expert.
Why Sediment Buildup is the ‘Silent Killer’ of Florida Water Heaters
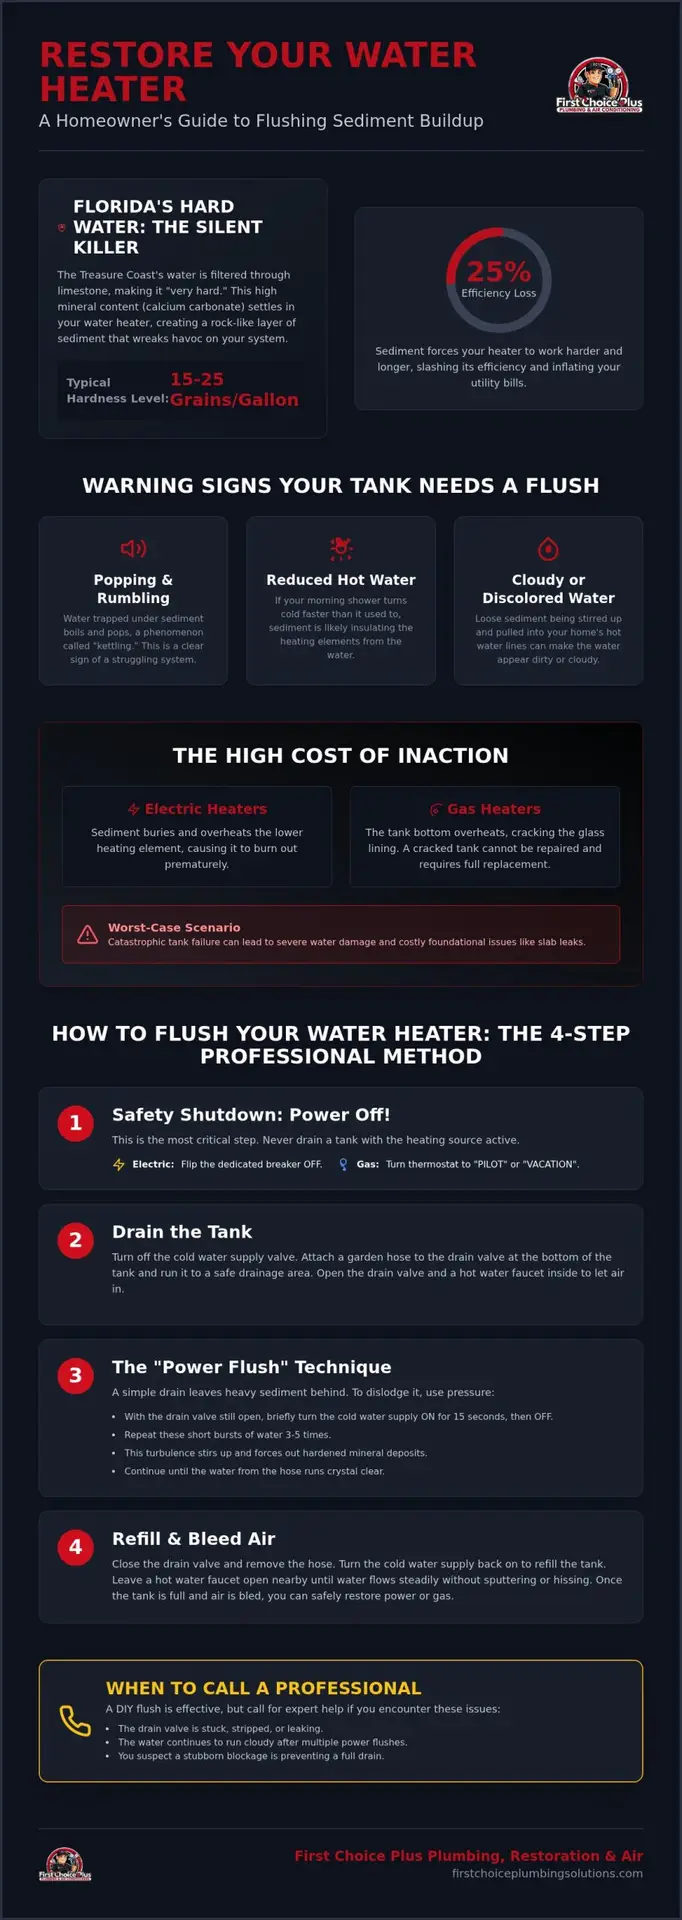
In the Treasure Coast, our water is filtered through thick layers of limestone. This natural process makes the water “very hard,” often reaching levels between 15 and 25 grains per gallon. While safe to drink, this high mineral content is a nightmare for water heating systems. As water heats up, calcium carbonate precipitates out and settles at the bottom of your tank. This layer of “rock” acts as an insulator, forcing your heater to run longer and hotter just to reach your desired temperature. If you haven’t learned how to flush sediment from water heater units lately, you’re likely paying for that extra energy every month.
The strange popping or rumbling sounds you hear aren’t just ghosts in the pipes. This phenomenon, known as “kettling,” happens when water gets trapped beneath a thick layer of sediment. The trapped water turns to steam, creating bubbles that eventually burst through the mineral crust. It’s a clear sign that your system is struggling. Research shows that sediment buildup can reduce a water heater’s efficiency by up to 25 percent. This makes it one of the primary reasons for high utility bills in Port St. Lucie.
Warning Signs Your Tank Needs a Flush
Your water heater will usually tell you when it’s struggling. Keep an ear out for low-frequency rumbling or sounds that mimic popcorn. You might also notice your morning shower doesn’t stay hot as long as it used to. In some cases, you’ll see cloudy or slightly discolored water coming from the hot tap. This indicates that loose sediment is being stirred up and pulled into your home’s plumbing lines.
The Long-Term Risks of Neglect
Ignoring these signs does more than just raise your bills. In electric models, sediment can bury the lower heating element, causing it to burn out prematurely. For gas models, the sediment layer causes the bottom of the tank to overheat, which can eventually lead to the glass lining cracking. A cracked tank cannot be repaired; it must be replaced. Worst of all, a catastrophic tank failure can lead to water damage or even a slab leak if the water undermines your home’s foundation. Regular maintenance is the only way to avoid these expensive emergencies.
Step-by-Step: How to Flush Sediment from Your Water Heater Safely
Safety is the most important part of this process. Before you touch a single valve, you must disable the heating source. For electric models, locate your home’s service panel and flip the dedicated breaker to the “off” position. If you have a gas unit, turn the dial on the water heater thermostat to the “Pilot” or “Vacation” setting. Don’t skip this step. If the heating elements or burners activate while the tank is empty, they’ll burn out or damage the tank lining in seconds. Once the power is killed, turn off the cold water supply valve located at the top of the unit.
Tools and Preparation Checklist
- A standard garden hose: Inspect it for cracks or leaks first; you don’t want hot water spraying in your garage or utility closet.
- A flat-head screwdriver or channel locks: Many modern drain valves are plastic and require a tool to turn the slot.
- A large bucket: Use this to catch the initial runoff. It helps you see exactly how much sediment is leaving the tank.
The Professional ‘Power Flush’ Method
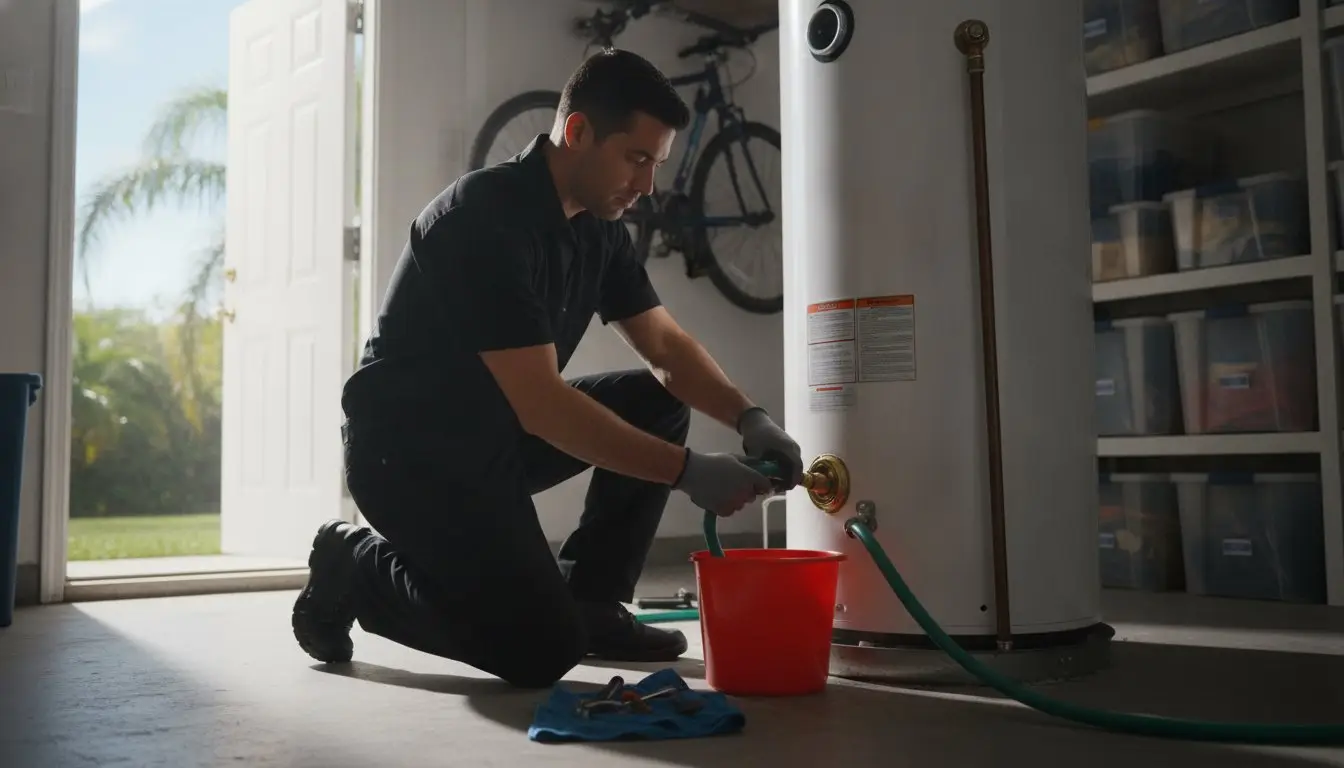
A simple static drain often leaves the heaviest mineral deposits sitting at the bottom of the tank. To get a deep clean, we recommend the “Power Flush” technique. A Power Flush is a method of using water pressure to agitate and remove settled minerals that have hardened over time. After the tank has mostly drained, leave the drain valve open with the hose attached. Turn the cold water inlet valve on for about 15 seconds, then shut it off quickly.
Repeat these short bursts of high-pressure water several times. This creates internal turbulence that stirs up the heavy “sand” and calcium flakes. Monitor the water coming out of the hose until it runs crystal clear. If the water remains cloudy or the drain valve seems restricted, you may need expert plumbing assistance to clear a stubborn blockage. Once the water is clear, close the drain valve and remove the hose. Knowing how to flush sediment from water heater systems properly ensures you aren’t leaving half the problem behind.
Post-Flush Maintenance and When to Call a Professional
Closing the drain valve doesn’t mean the job is finished. Before you restore power or gas, you must re-fill the tank and remove trapped air. Open a hot water faucet at a nearby sink and leave it running until the water flows steadily without sputtering. This bleeding process ensures your tank is completely full. If you turn on the power while an air pocket remains, you risk burning out the upper heating element instantly. Once the air is gone, you can safely flip the breaker or relight the pilot light.
A common DIY headache is a dripping drain valve after you’ve finished the job. Small pieces of calcium can get stuck in the valve’s seal, preventing it from closing tightly. Try opening the valve for a quick one-second burst to flush out the debris. If it still leaks, you can temporarily seal it with a threaded brass cap, but a permanent repair is necessary to prevent a flood. If a valve becomes completely stuck or the water never runs clear despite your best efforts, it’s time to contact First Choice Plus Plumbing & Air for a professional assessment.
The Anode Rod: Your Tank’s Secret Bodyguard
While you are learning how to flush sediment from water heater systems, don’t overlook the anode rod. This sacrificial rod is designed to corrode so your tank doesn’t. In Florida’s harsh water conditions, these rods should be inspected every 3 years. If the rod is completely degraded, your tank will begin to rust from the inside out. This leads to rapid sediment formation and eventually causes the tank to leak from the core.
When to Replace vs. Repair
Even with perfect maintenance, water heaters in the Treasure Coast have a limited lifespan. While units in other states might last 12 years, the extreme mineral content here often reduces that to 6 to 8 years. If your unit is over a decade old and showing signs of heavy rust around the bottom seams or puddles at the base, a replacement is often safer and more cost-effective than a repair. To prevent future buildup, consider installing water softeners to treat the mineral problem at the source.
Protect Your Home and Extend Your Water Heater’s Life
Mastering how to flush sediment from water heater units is a critical skill for any homeowner on the Treasure Coast. By staying ahead of mineral buildup, you ensure your system runs quietly and your hot water lasts through every shower. Remember that consistency is key; the unique geology of our region means that standard annual maintenance simply isn’t enough to prevent the early failure of your tank’s glass lining or heating elements.
If you discover a seized valve or find that your tank still rumbles after a thorough cleaning, don’t leave your home’s safety to chance. We’ve been family owned and locally operated since 2007, offering expert tank and tankless services with the transparency you deserve. Whether you need a routine check or 24/7 emergency support, our team provides the steady hand needed to keep your plumbing system in peak condition. Schedule a Professional Water Heater Inspection with First Choice Plus Plumbing & Air today. We’re here to ensure your home remains a place of comfort and reliability.
Frequently Asked Questions
How often should I flush my water heater in Port St. Lucie?
You should flush your water heater every six months in Port St. Lucie to combat our “very hard” water. While national guides often suggest an annual flush, the Treasure Coast has a high mineral content ranging from 15 to 25 grains per gallon. This specific mineral profile causes calcium to accumulate twice as fast as in other regions, making semi-annual maintenance essential for tank longevity.
Can I flush my water heater if it hasn’t been done in years?
You can still attempt a flush, but you should be prepared for potential complications like a valve that won’t reseal. If a tank has been neglected for over five years, the sediment can sometimes become a solid “shelf” that is difficult to break up. If you aren’t confident in how to flush sediment from water heater units that have reached this stage, a professional can use specialized tools to safely clear the blockage without damaging the internal lining.
Why is my water heater making a popping noise after I flushed it?
Popping noises after a flush usually mean that air is still trapped in the tank or that some heavy sediment chunks were stirred up but not fully removed. If you didn’t run a hot water faucet to bleed the air before restoring power, the heating elements may be reacting to air pockets. If the sound continues, it indicates that a layer of hardened scale still remains on the bottom and is trapping steam bubbles during the heating cycle.
What should I do if the drain valve is stuck or won’t open?
Stop immediately and do not use excessive force, especially if your unit has a plastic drain valve. Forcing a stuck valve can cause the component to snap off entirely, leading to an uncontrollable flood in your home. If a valve is seized, it usually needs to be replaced with a durable brass alternative. A professional plumber can perform this swap safely while the tank is under controlled conditions, ensuring your system remains watertight and functional.

Article by
Written by First Choice Plus Plumbing & Air Team
This article was created by the team at First Choice Plumbing Solutions, a licensed and experienced plumbing and HVAC company serving Port St. Lucie, Land O’ Lakes, and surrounding areas.
Our team specializes in plumbing and air conditioning services, including drain cleaning, leak detection, water heater repair and installation, AC repair, maintenance, and system installations. Our content is based on real-world experience and the common issues we solve for homeowners and businesses every day.
We aim to provide accurate, helpful, and easy-to-understand information so you can make informed decisions about your plumbing and HVAC needs.
If you need reliable, professional service, First Choice Plumbing Solutions is here to help.
Disclaimer
Disclaimer: The information provided in this article is for general informational purposes only and does not constitute professional plumbing or HVAC advice. Every situation is different, and readers should consult a licensed professional for proper diagnosis and repair. First Choice Plus Plumbing & Air is not liable for any damages or losses resulting from the use of this information.